How to Read OBD II Codes and Diagnose Common Car Problems
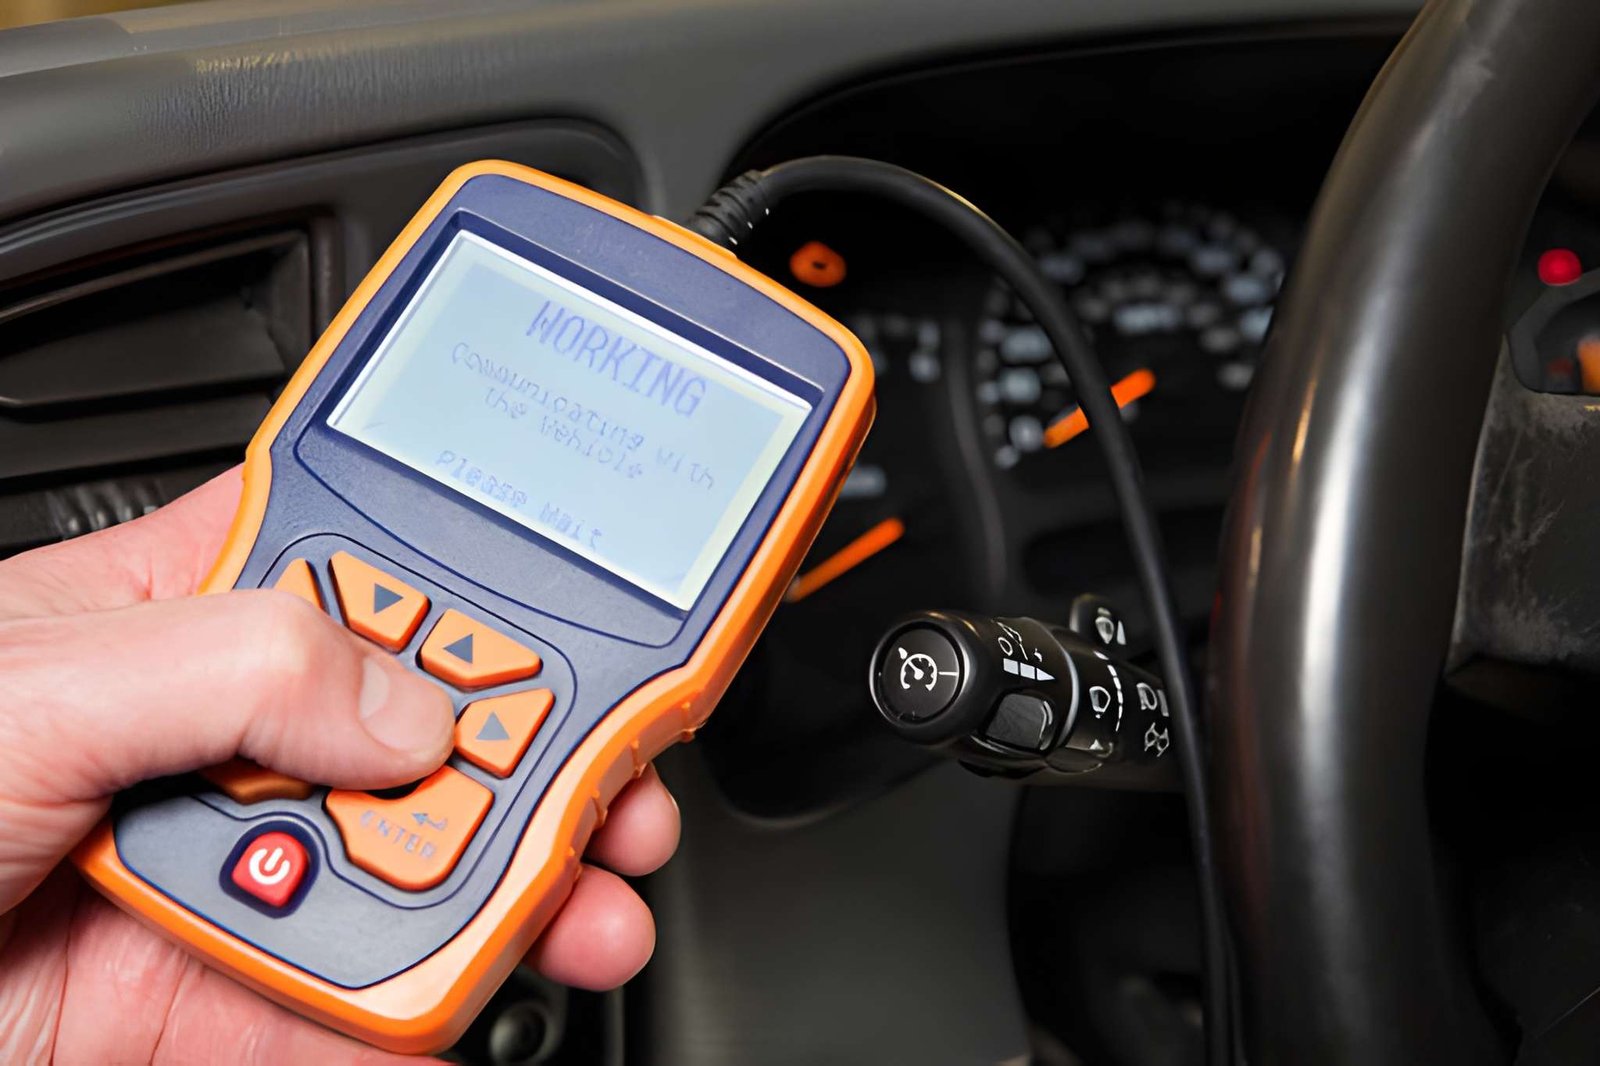
Modern vehicles include advanced computer systems that monitor engine performance, emissions, and many other important functions. When something goes wrong, the onboard diagnostic system records a trouble code that helps identify the problem. Learning how to read these codes gives drivers a better understanding of their vehicle and can prevent unnecessary repairs. Many people rely on FIXD and other scan tools to retrieve these codes, making it easier to understand what the warning lights mean before visiting a mechanic.
Understanding the Basics of OBD II Codes
The OBD II system, which stands for On Board Diagnostics Second Generation, became standard in most vehicles sold in the United States after 1996. It constantly checks engine sensors, fuel delivery, ignition timing, emissions equipment, and other critical systems. When it detects something outside the expected range, it stores a diagnostic trouble code and may turn on the check engine light.
Every trouble code follows a standard format that starts with a letter followed by four numbers. The letter tells you which system is affected, such as the powertrain, body, chassis, or communication network. The numbers provide additional details about the issue, helping technicians and vehicle owners narrow down the possible cause before beginning repairs.
Finding the OBD II Port
Before reading any codes, you need to locate the OBD-II port in your vehicle. In most cars, the port is positioned beneath the dashboard near the steering column. It is designed to be easy to access without removing any panels or special parts. Most scan tools plug directly into this connector within seconds.
Once connected, turn the ignition key to the appropriate position or start the engine if the scanner instructions recommend it. The scan tool communicates with the vehicle's computer and retrieves any stored or pending trouble codes. Many scanners also display additional information, such as freeze-frame data and live sensor readings, giving you a better picture of the vehicle's condition.
Understanding What the Codes Mean
Not every trouble code points directly to a failed part. Instead, it identifies the system where the problem was detected. For example, an oxygen sensor code may be caused by damaged wiring, an exhaust leak, or even an engine issue affecting sensor readings. Reading the code is only the first step in diagnosing the actual problem.
It is also important to know the difference between generic and manufacturer-specific codes. Generic codes have the same meaning across nearly all vehicle brands, whereas manufacturer-specific codes may vary by automaker. Looking up the correct definition for your vehicle helps avoid confusion and supports a more accurate diagnosis.
Diagnosing Common Engine Problems
Many of the most common OBD II codes relate to engine performance. Misfire codes, fuel mixture problems, and oxygen sensor faults appear frequently because these systems operate continuously while the vehicle is running. Understanding engine fault codes helps drivers recognize whether a problem is likely to affect fuel economy, emissions, or overall engine performance.
After identifying the code, perform a visual inspection before replacing any parts. Check for loose electrical connectors, damaged vacuum hoses, worn ignition components, or obvious fluid leaks. Simple problems often trigger warning lights, and correcting them first may solve the issue without requiring expensive repairs or unnecessary replacement parts.
Using Live Data for Better Diagnosis
Many modern scan tools provide live data in addition to stored trouble codes. This feature lets you monitor sensor readings while the engine is running. You can monitor engine temperature, fuel trim, oxygen sensor activity, airflow measurements, and many other values in real time. Comparing these readings with normal operating ranges provides valuable clues during diagnosis.
Live data also helps confirm whether a repair has solved the problem. If sensor values return to normal after replacing a damaged component or fixing a wiring issue, you can feel more confident that the underlying problem has been corrected. This approach reduces guesswork and improves repair accuracy.
Clearing Codes the Right Way
After completing a repair, many scan tools allow you to clear stored trouble codes. While this turns off the check engine light, it should only be done after confirming the repair was successful. Simply erasing the code without fixing the cause will usually result in the warning light returning after the vehicle completes its self-testing process.
It is also helpful to drive the vehicle through several normal driving cycles after clearing the codes. During this time, the onboard computer checks each monitored system again. If no problems are detected, the repair was likely successful. If the same code returns, additional testing may be needed to identify the true cause of the issue.
Preventing Future Vehicle Problems
Routine maintenance remains one of the most effective ways to reduce OBD II trouble codes. Changing engine oil on schedule, replacing worn spark plugs, checking air filters, and inspecting hoses and electrical connections all help keep the vehicle operating properly. Preventive care also improves fuel efficiency and reduces the risk of unexpected breakdowns.
Learning how to read and understand vehicle diagnostic scanner information gives every driver greater confidence when warning lights appear. Instead of guessing what might be wrong, you can gather useful information, communicate more effectively with a repair technician, and make informed decisions about maintenance. With a basic understanding of OBD II codes, diagnosing common car problems becomes much less intimidating and far more manageable.
